Jitterbit
Jitterbit
This page outlines the steps to connect Jitterbit to Connect AI using the OData protocol. This requires the use of workspaces. See the Workspaces documentation for more information.
Prerequisites
Before you connect, you must first do the following:
- Connect a data source to your Connect AI account. See Sources for more information.
- Create a Workspace. Later, you will use the OData Service URL on that page (https://cloud.cdata.com/api/odata/{workspace_name}) with the relevant workspace name to establish the connection.
- Generate a Personal Access Token (PAT) on the Settings page. Copy this down, as it acts as your password during authentication.
Connect to Connect AI
To establish a connection from Jitterbit to Connect AI using the OData protocol, follow these steps.
-
Log in to Jitterbit.
-
Create a project in Cloud Studio and provide a workspace environment for it.

-
Click Connections and enter OData in the search bar.
-
Select the OData connector.
-
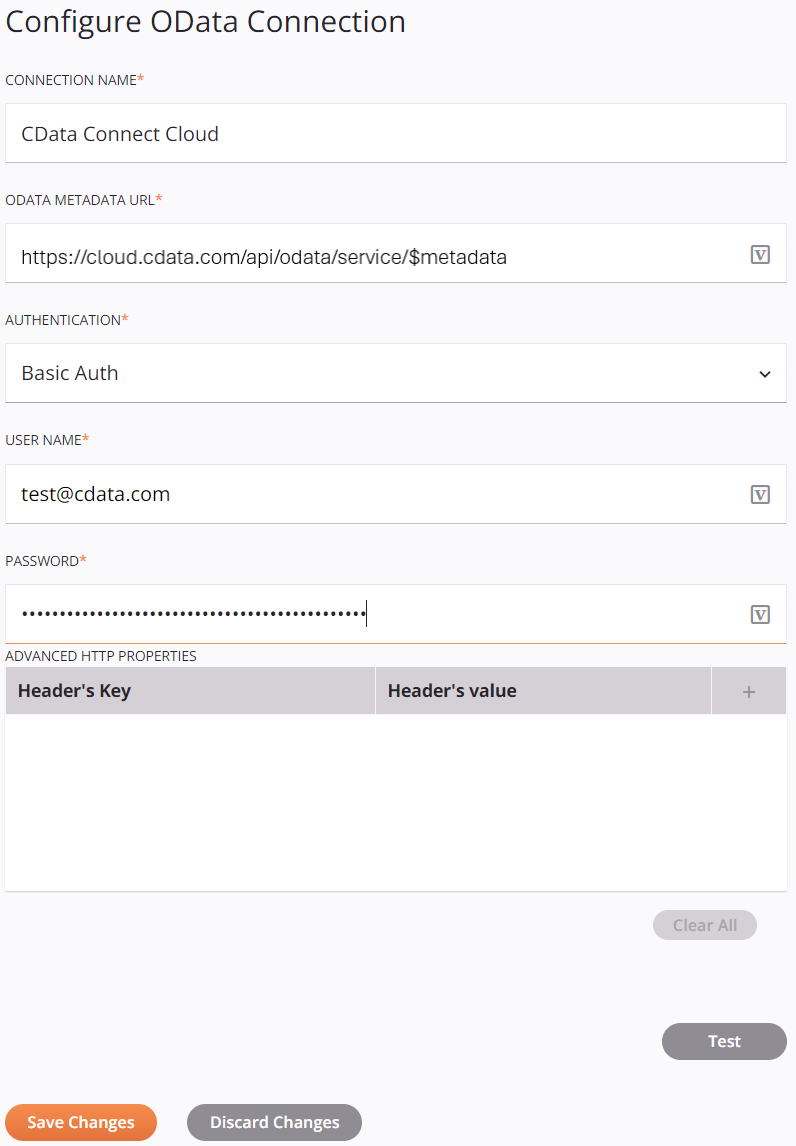
Enter the OData connection properties.
-
Connection Name—enter a connection name.
-
OData Metadata URL—enter the metadata URL: https://cloud.cdata.com/api/odata/{workspace_name}/$metadata.
-
Authentication—select Basic Auth.
-
User Name—enter your Connect AI username. This is displayed in the top-right corner of the Connect AI interface. For example, test@cdata.com.
-
Password—enter the PAT you generated on the Settings page.

-
-
Click Test to test the connection, and then click Save Changes.
-
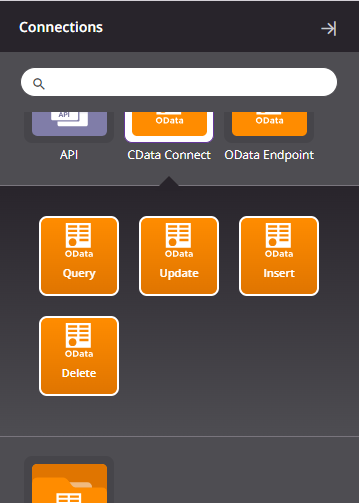
Choose the operation you want to perform and drag it to the workflow in your project.

-
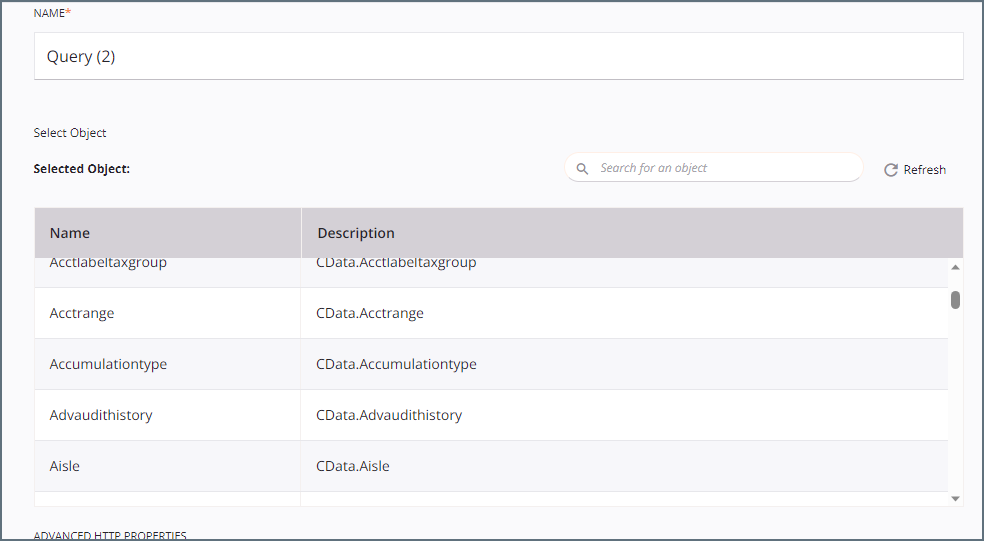
Double-click the query operation to see all the tables and derived views available in your OData endpoint.

-
Select a table and configure the query.
You can now transform and integrate your data.