Looker Studio
Looker Studio
This page outlines the steps to install and configure the Connect AI connector for Looker Studio. After installation, Looker Studio will be able to pull data from sources that you have connected to your Connect AI account.
Note: Before you can configure and use Looker Studio with Connect AI, you must first connect a data source to your Connect AI account. See Sources for more information.
-
Sign in to Looker Studio using your Google account.
-
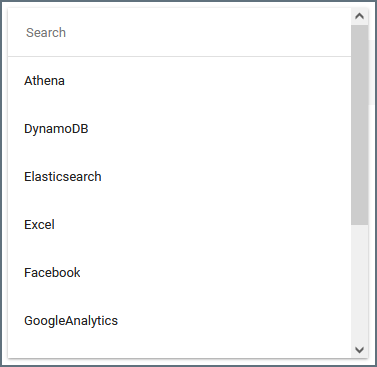
Click here to search for the Connect AI connector.
Alternatively, from the Looker Studio dashboard, click + Create, then click Data Source and search for Connect AI. -
Click Connect AI to install the connector.
-
When prompted, click Authorize to allow Looker Studio to use the connector.
-
Another Authorize button appears to connect to Connect AI. Click this to open a login window.
-
Enter your Connect AI login credentials and click Continue.
-
Close the authorization window when prompted.
-
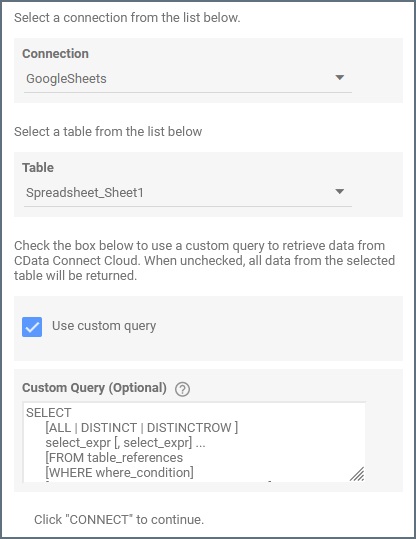
Open the Connection drop-down menu, select a connection, and click Next.
-
Use the Table drop-down menu to select the table you want to import.
-
(Optional) By default, all data in the table will be imported. If you want to use a custom query for the data instead of retrieving all data, check the Use custom query box and enter the parameters in the Custom Query box.
-
(Optional) If you want to use the current user’s email within a custom query, use the parameter token
@DS_USER_EMAILin the query, as follows:Select * from Sales WHERE sales-rep-email = @DS_USER_EMAIL;Connect AI replaces the parameter with the current user’s email address.
-
Click Connect in the top-right corner of the page. Looker Studio opens an overview of the imported data.
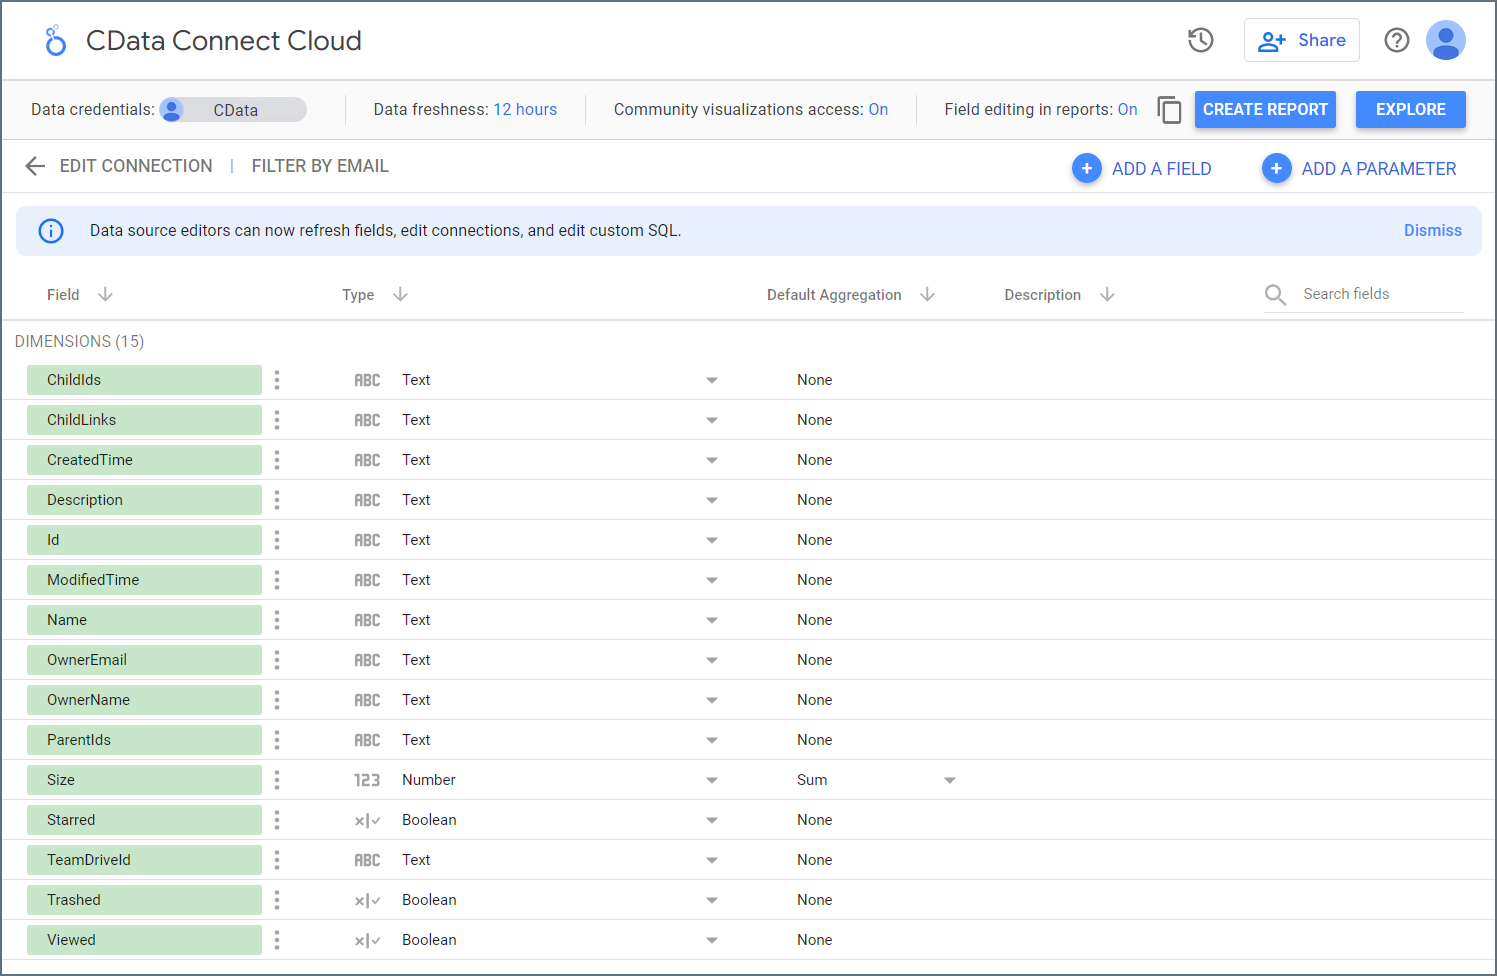
You can now sort, filter, and explore your data and generate reports. For more information about using Looker Studio, please see Google’s help topics.