Databricks
Databricks
This page outlines the steps to configure Databricks to access Connect AI. Databricks can pull data from sources that you have connected to your Connect AI account.
Prerequisites
Before you can configure and use Databricks with Connect AI, you must first connect a data source to your Connect AI account. See Sources for more information.
You must also generate a Personal Access Token (PAT) on the Settings page. Copy this down, as it acts as your password during authentication.
Make a note of the version of Databricks you are using. Versions of Databricks greater than Runtime 14.3 LTS have different instructions for installing the CData JDBC library.
Install the JDBC Driver (For All Versions of Databricks)
-
Download and install the Connect AI JDBC driver.
- Open the Integrations page of Connect AI.
- Search for JDBC or Databricks.
- Click Download and select your operating system.
- When the download is complete, run the setup file.
- When the installation is complete, the JAR file can be found in the installation directory.
-
Log in to Databricks.
Install the JDBC Library into Databricks (For Versions of Databricks Runtime 14.3 LTS and Below)
-
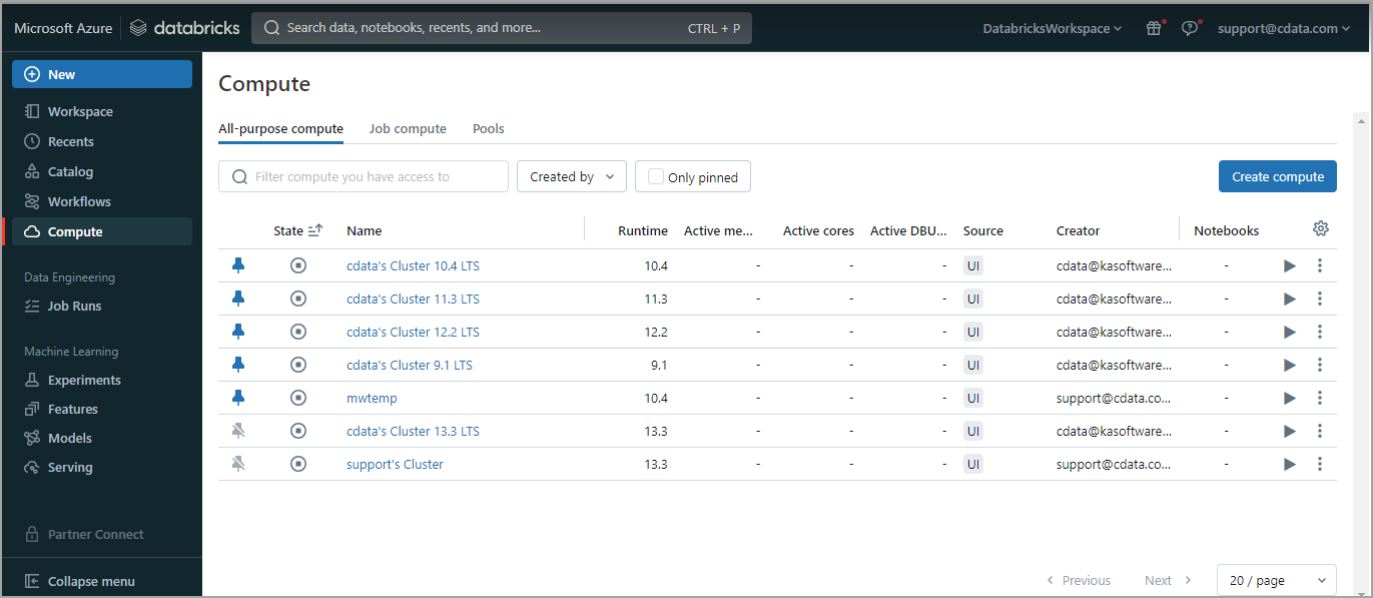
In the navigation pane, select Compute. Start any compute or create a new one.
-
Once the compute is started, click the compute and then select the Libraries tab.
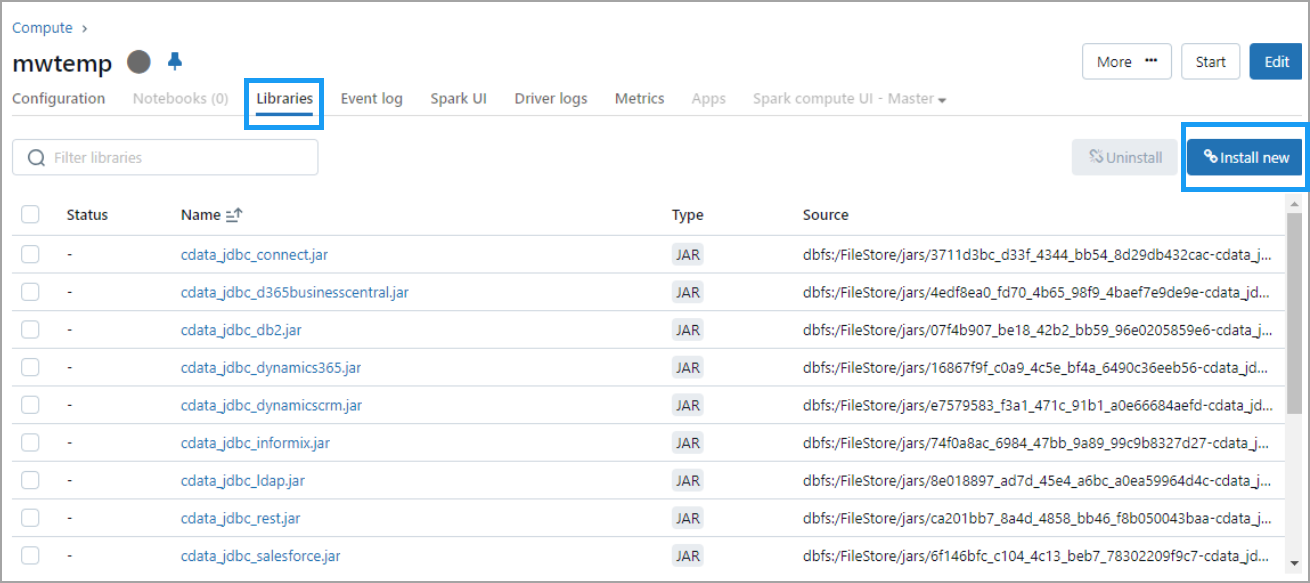
-
Click Install new. The Install library dialog appears.
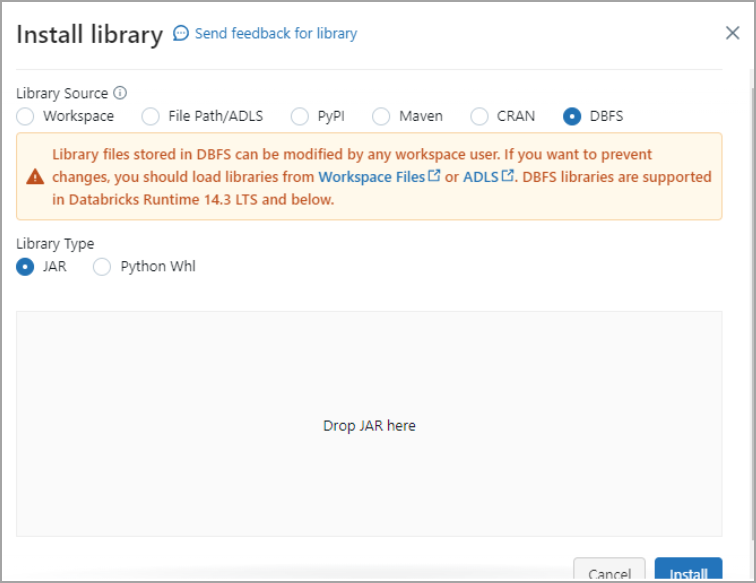
-
Select DBFS. Then drag and drop the JDBC JAR file into the indicated area. The file has the name
cdata.jdbc.connect.jar. Click Install.
Install the JDBC Library into Databricks (For Versions of Databricks Runtime Above 14.3 LTS)
-
In Databricks, create a Catalog named JARs.
-
Within the JARs catalog, create a Schema named JarFile.
-
In the Catalog Explorer, click + and select Upload to volume.

-
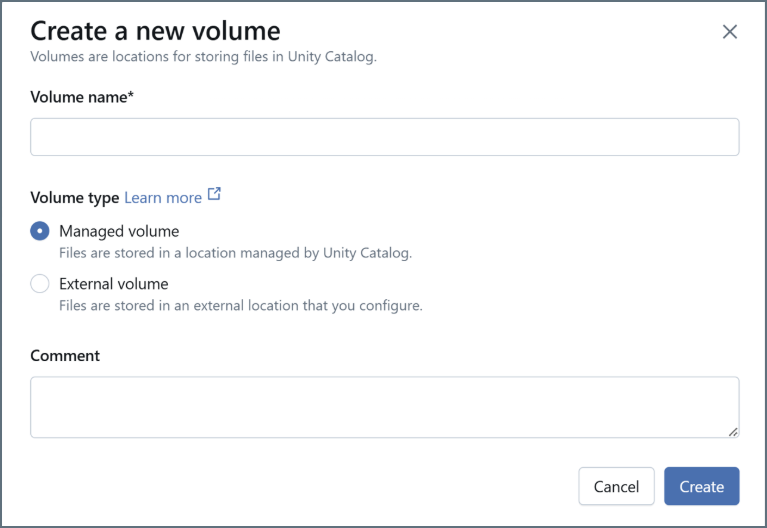
Click + to create a new volume. Name the volume and click Create.
-
In the Upload files to volume dialog, click browse. Upload the Connect JDBC JAR file, named
cdata.jdbc.connect.jar. -
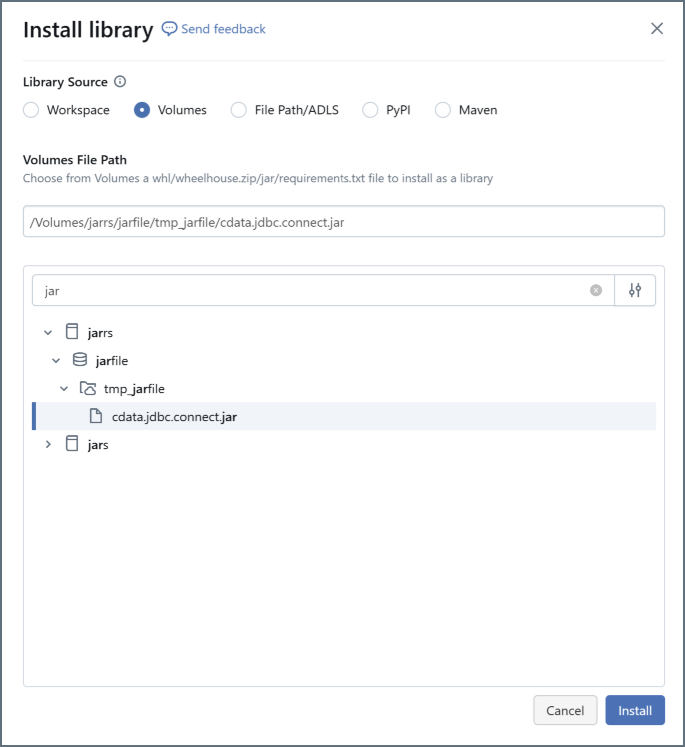
Install the new library. For Library Source, select Volumes. Select the JAR file and click Install.
Note: In order to install the library, you must first add it to the Databricks
allowlist. See the Databricks documentation for more information.
Connect Databricks to Connect AI
Once you install the JDBC library, you can connect to Connect AI by running three notebook scripts, one by one.
-
The first script is below. Change the following:
-
Update
Userwith your Connect AI username. -
Update
Passwordwith the PAT you generated in the prerequisites. -
Update
Your_Connection_namewith the name of the data source you created in the prerequisites.
driver = "cdata.jdbc.connect.ConnectDriver" url ="jdbc:connect:AuthScheme=Basic;User=user@cdata.com;Password=***********;URL=https://cloud.cdata.com/api/;DefaultCatalog= Your_Connection_Name;" -
-
Run the first script.
-
From the menu on the right side, select Add cell below to add a second script. The second script is below. Change the following:
-
Update
Userwith your Connect AI username. -
Update
Passwordwith the PAT you generated in the prerequisites. -
Update
Your_Connection_namewith the name of the data source you created in the prerequisites. -
Update
YOUR_SCHEMA.YOUR_TABLEwith your schema and table, for example,PUBLIC.CUSTOMERS.
remote_table = spark.read.format ( "jdbc" ) \ .option ( "driver" , "cdata.jdbc.connect.ConnectDriver") \ .option ( "url","jdbc:connect:AuthScheme=Basic;User=user@cdata.com;Password=*******;URL=https://cloud.cdata.com/api/;DefaultCatalog= Your_Connection_Name;") \ .option ( "dbtable" , "YOUR_SCHEMA.YOUR_TABLE") \ .load () -
-
Run the second script.
-
Add a cell for the third script. The third script is below. Select the columns you want to display.
display (remote_table.select ("ColumnName1","ColumnName2")) -
Run the third script.
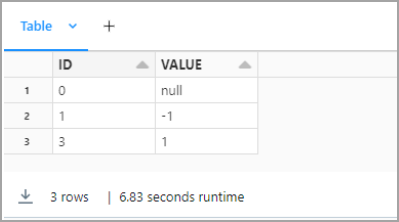
-
You can preview your data in Databricks.