CData Sync
CData Sync
This page outlines the steps to connect CData Sync to your Connect AI account.
Prerequisites
Before you connect, you must first do the following:
- Connect a data source to your Connect AI account. See Sources for more information.
- Generate a Personal Access Token (PAT) on the Settings page. Copy this down, as it acts as your password during authentication.
Connect to Connect AI
To establish a connection from CData Sync to Connect AI, follow these steps.
-
Log in to CData Sync.
-
In the navigation menu, select Connections. Click Add Connection.
-
On the Select Connectors page, select the Sources tab, and enter CData Connect in the search field. Note: Click the download icon to download the connector if it is not already installed.
-
Click CData Connect to configure the connection. A New Connection page appears.
-
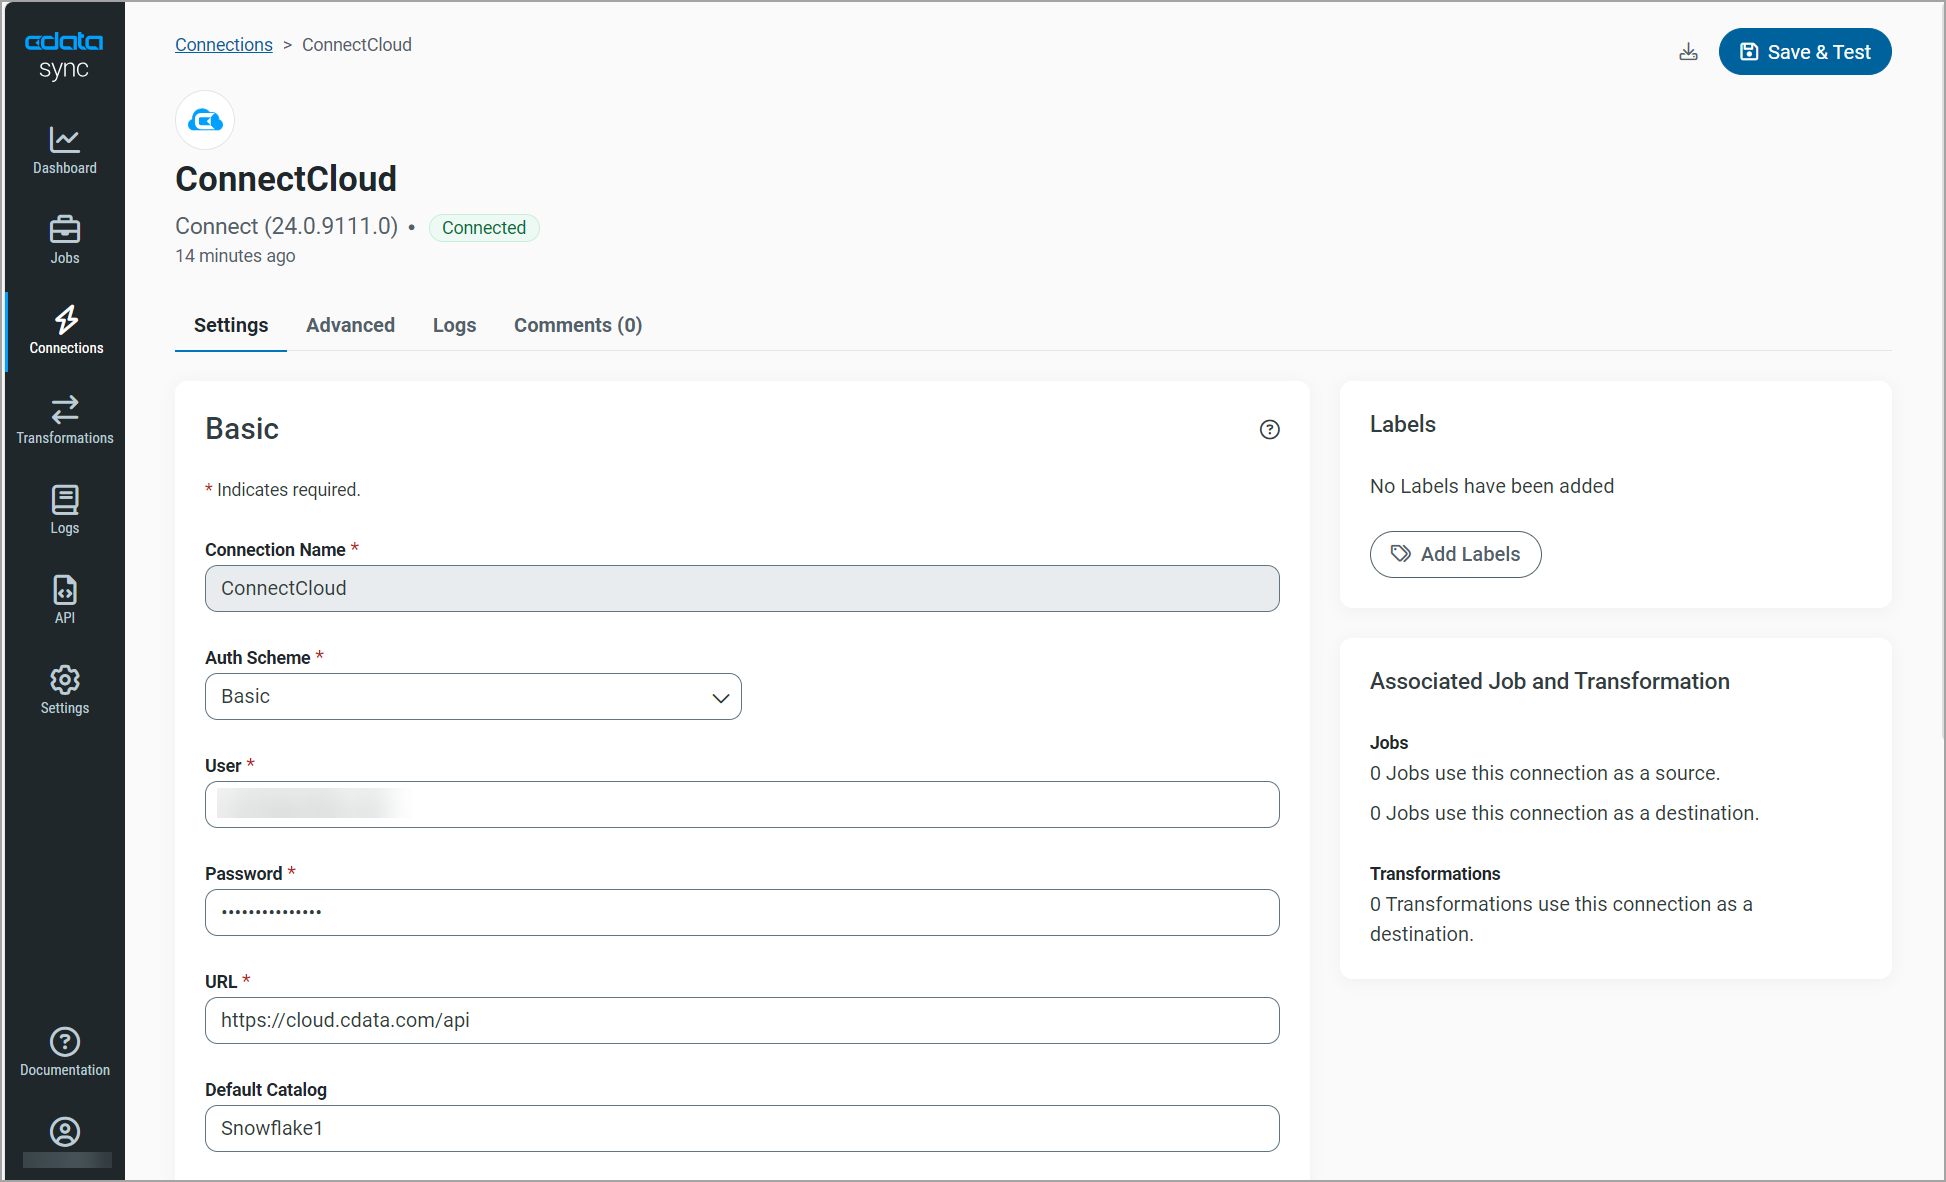
Enter the following settings for your connection for your source data.
- Connection name—enter the name of your connection for display purposes.
- Auth Scheme—use Basic.
- User—enter your Connect AI username. This is displayed in the top-right corner of the Connect AI interface. For example, test@cdata.com.
- Password—enter the PAT you generated on the Settings page.
- URL—Enter https://cloud.cdata.com/api.
- Default Catalog—(optional) enter the name of your default catalog.
- Workspace—(optional) enter the name of the workspace with which you want to connect.
-
Click Create & Test. If the connection is successful, the Connect AI connection appears on the Connections page.
Now you need to configure your connection for your destination data. For this example, the destination data is a SQL Server database.
-
In the navigation menu, select Connections. Click Add Connection.
-
On the Select Connectors page, select the Destinations tab, and enter SQL Server in the search field. Note: Click the download icon to download the destination connector if it is not already installed.
-
Click SQL Server to configure the connection. A New Connection page appears.
-
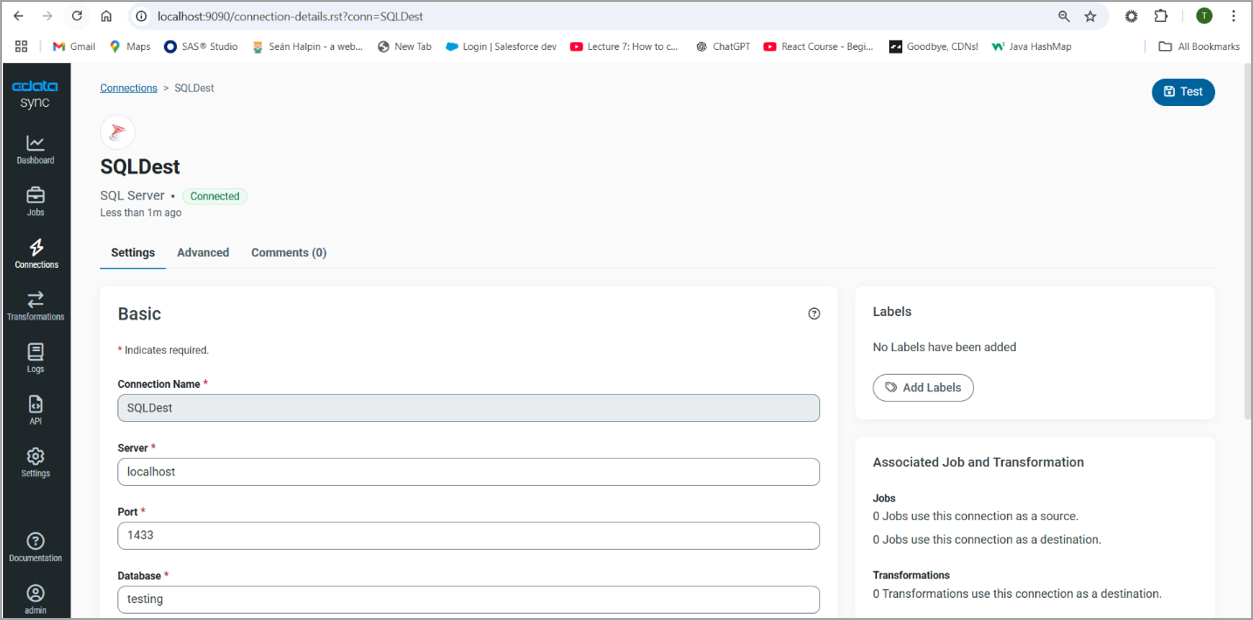
Enter the following settings for your connection for your destination data. Note: For other destination connection configurations, see the CData Sync documentation.
- Connection name—enter the name of your connection for display purposes.
- Server—enter the host name or IP address of the server that hosts the SQL Server database. The default server is localhost.
- Port—enter the port number for SQL Server. The default port value is 1433.
- Database— enter the default database to which you want to connect when you connect to SQL Server.
- User—enter the username that you use to authenticate to SQL Server.
- Password—enter the password that you use to authenticate to SQL Server.
-
Click Create & Test. If the connection is successful, the connection appears on the Connections page.
To add a job to CData Sync and run the job, follow these steps.
-
In the navigation menu, select Jobs. Click Add Job > Add New Job.
-
In the Add Job dialog, enter the following information.
- Name—enter the name of the job for display purposes.
- Source—select the Connect AI connection you created.
- Destination—select the destination connection you created.
- Type—select either Standard or Sync All.
-
Click Add Job.
-
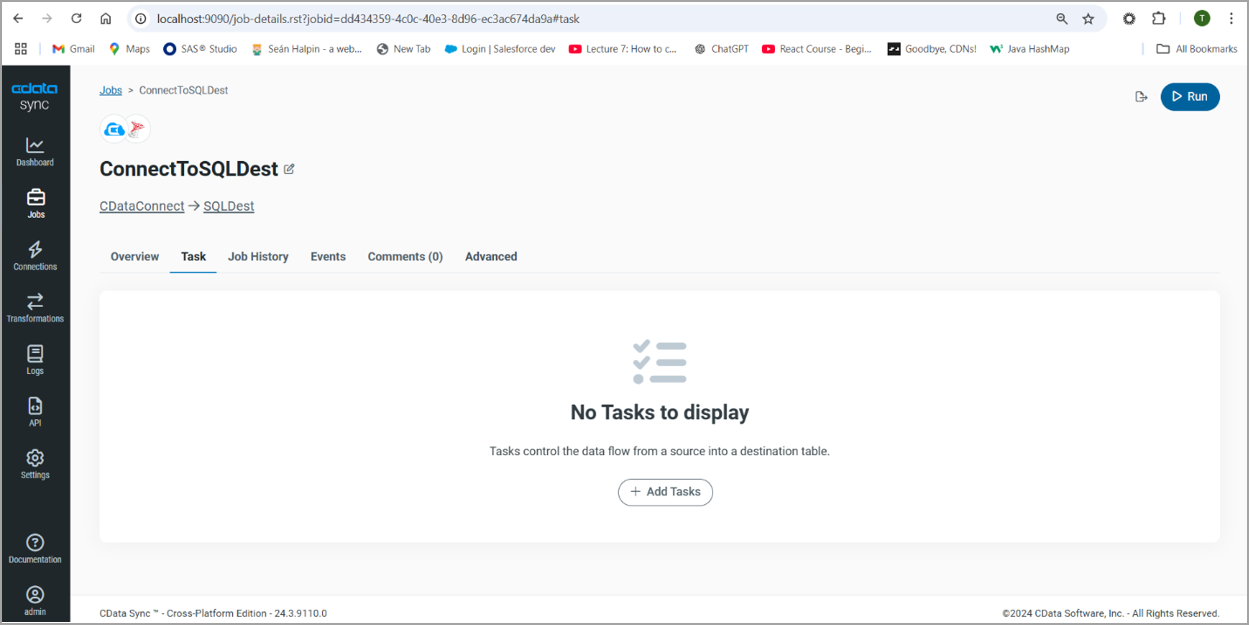
In Jobs, click the new job you just created. In the Task tab, click Add Tasks.
-
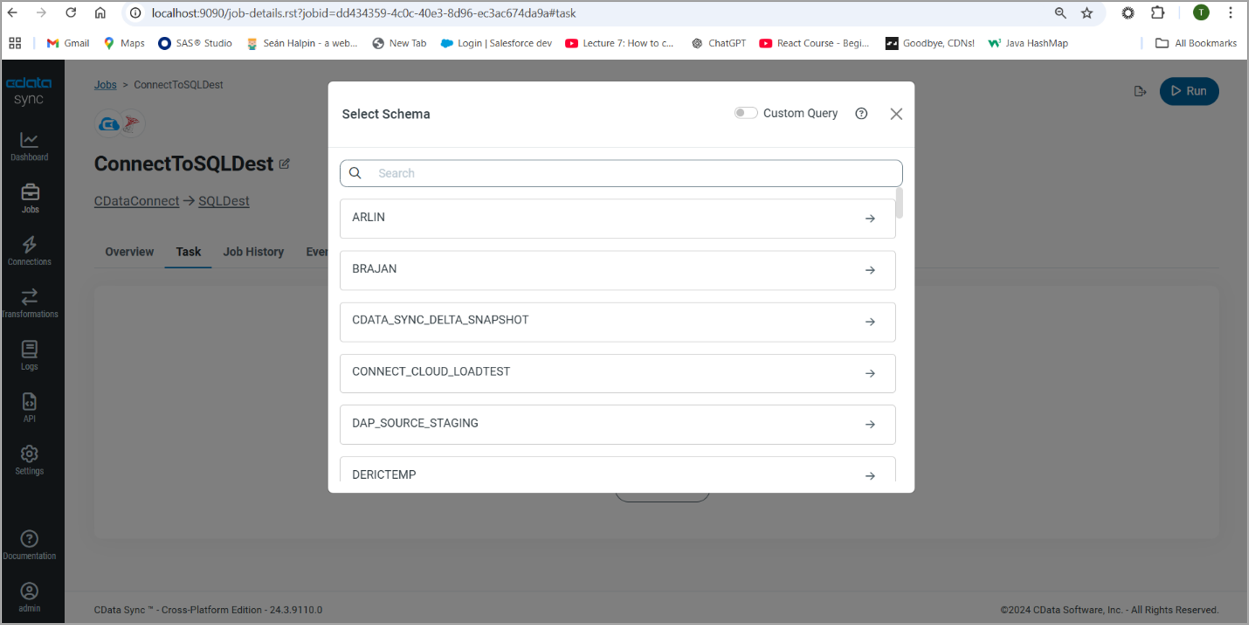
In the Select Schema dialog, select the schema and table you want to replicate.
-
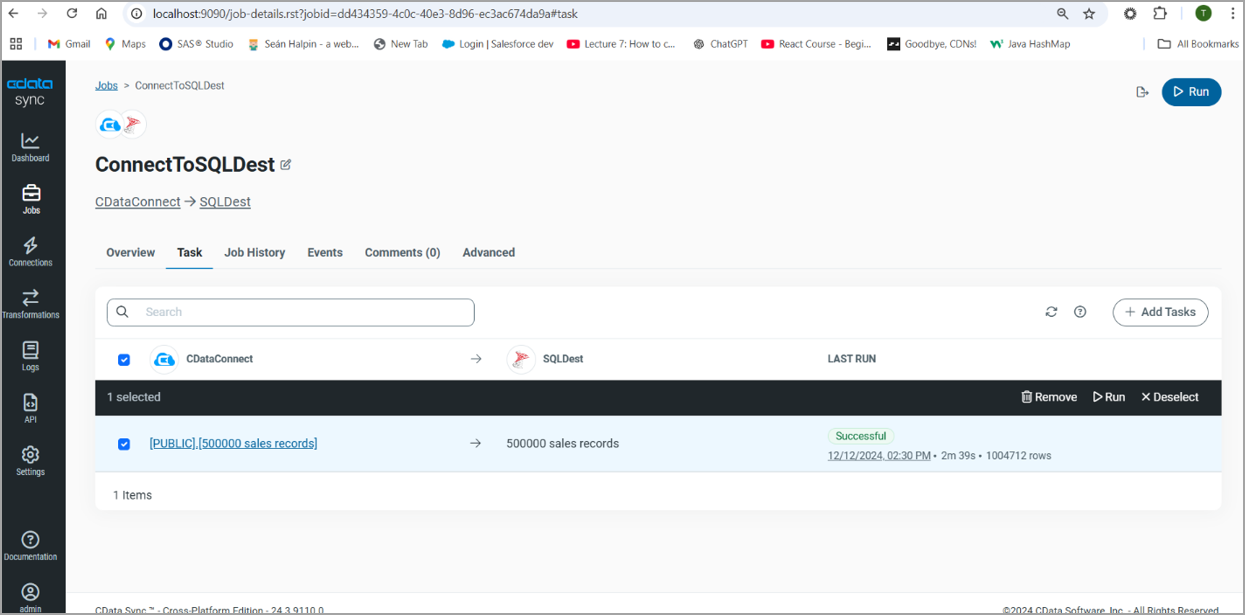
The table is added as a task. Click Run to run the task.
-
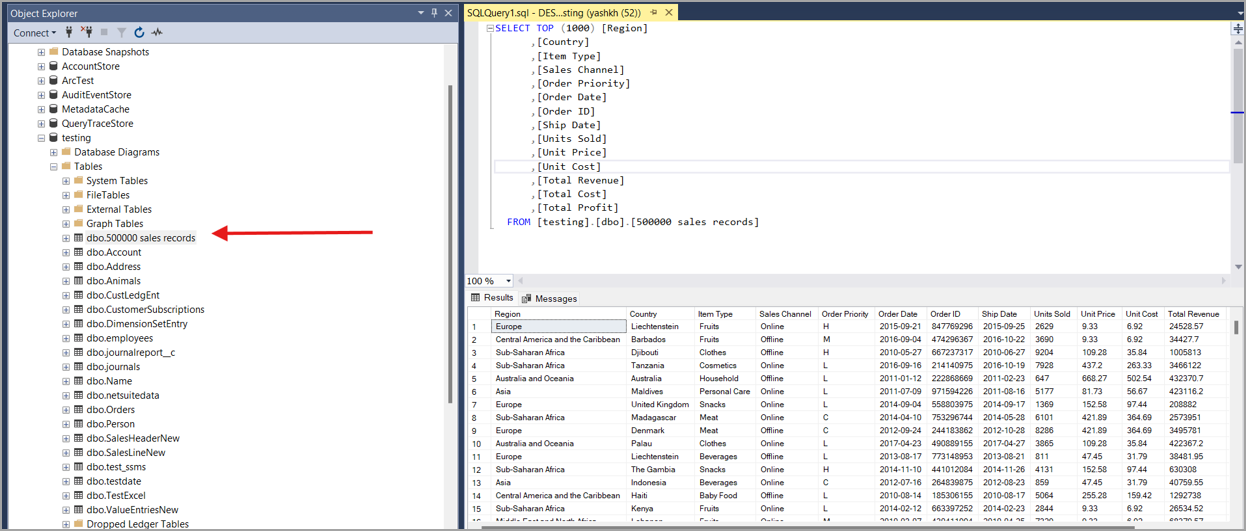
The table is replicated to your destination.
