SnapLogic
SnapLogic
Note:Connect AI でSnapLogic を設定して使用する前に、データソースをConnect AI アカウントに接続する必要があります。詳細は、Sources を参照してください。
You must also generate a Personal Access Token (PAT) on the Settings page. Copy this down, as it acts as your password during authentication.
-
Download and install the Connect AI JDBC driver.
- Open the Integrations page of Connect AI.
- In the Dev Tools section, click JDBC.
- Download and run the setup file.
- When the installation is complete, the JAR file can be found in the installation directory. The default directory is
C:/Program Files/CData/CData Connect JDBC driver/lib.
-
Log in to SnapLogic.
-
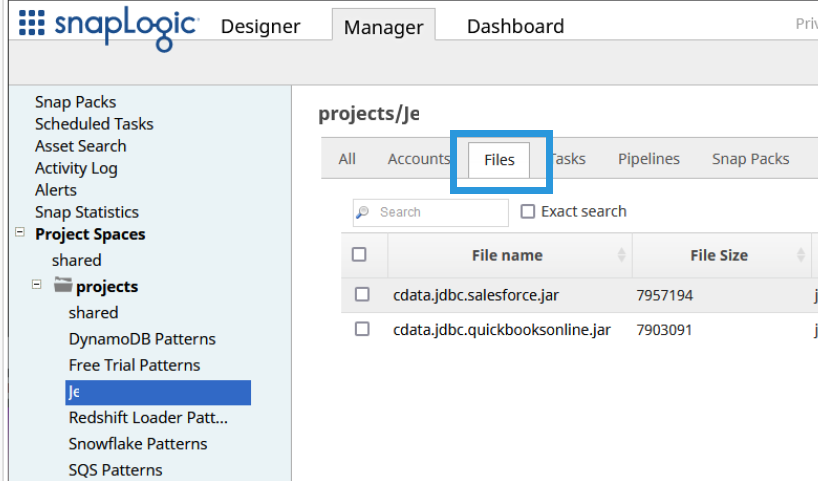
Click the Manager tab.
-
Select a folder on the left to add the JDBC JAR file to.

-
Click the Files tab.
-
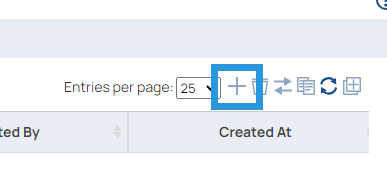
Click the “+” button in the top right to upload the Connect AI JDBC JAR file. It appears as a file once uploaded.
-
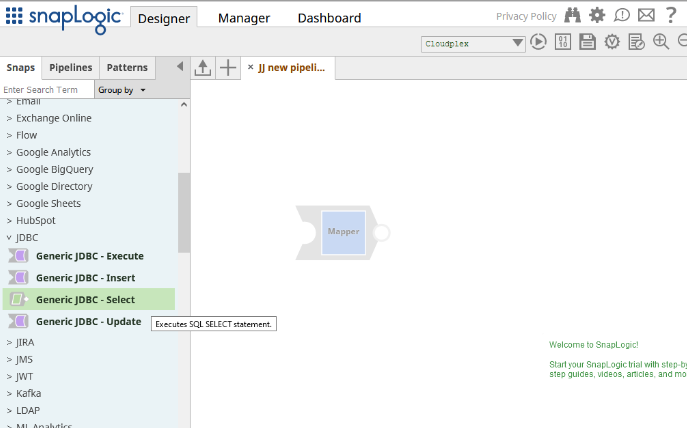
Click the Designer tab.
-
Click JDBC to expand the options for snaps.
-
Click and drag a Generic JDBC - Select snap onto the designer.
-
Click Add Account > Continue.
-
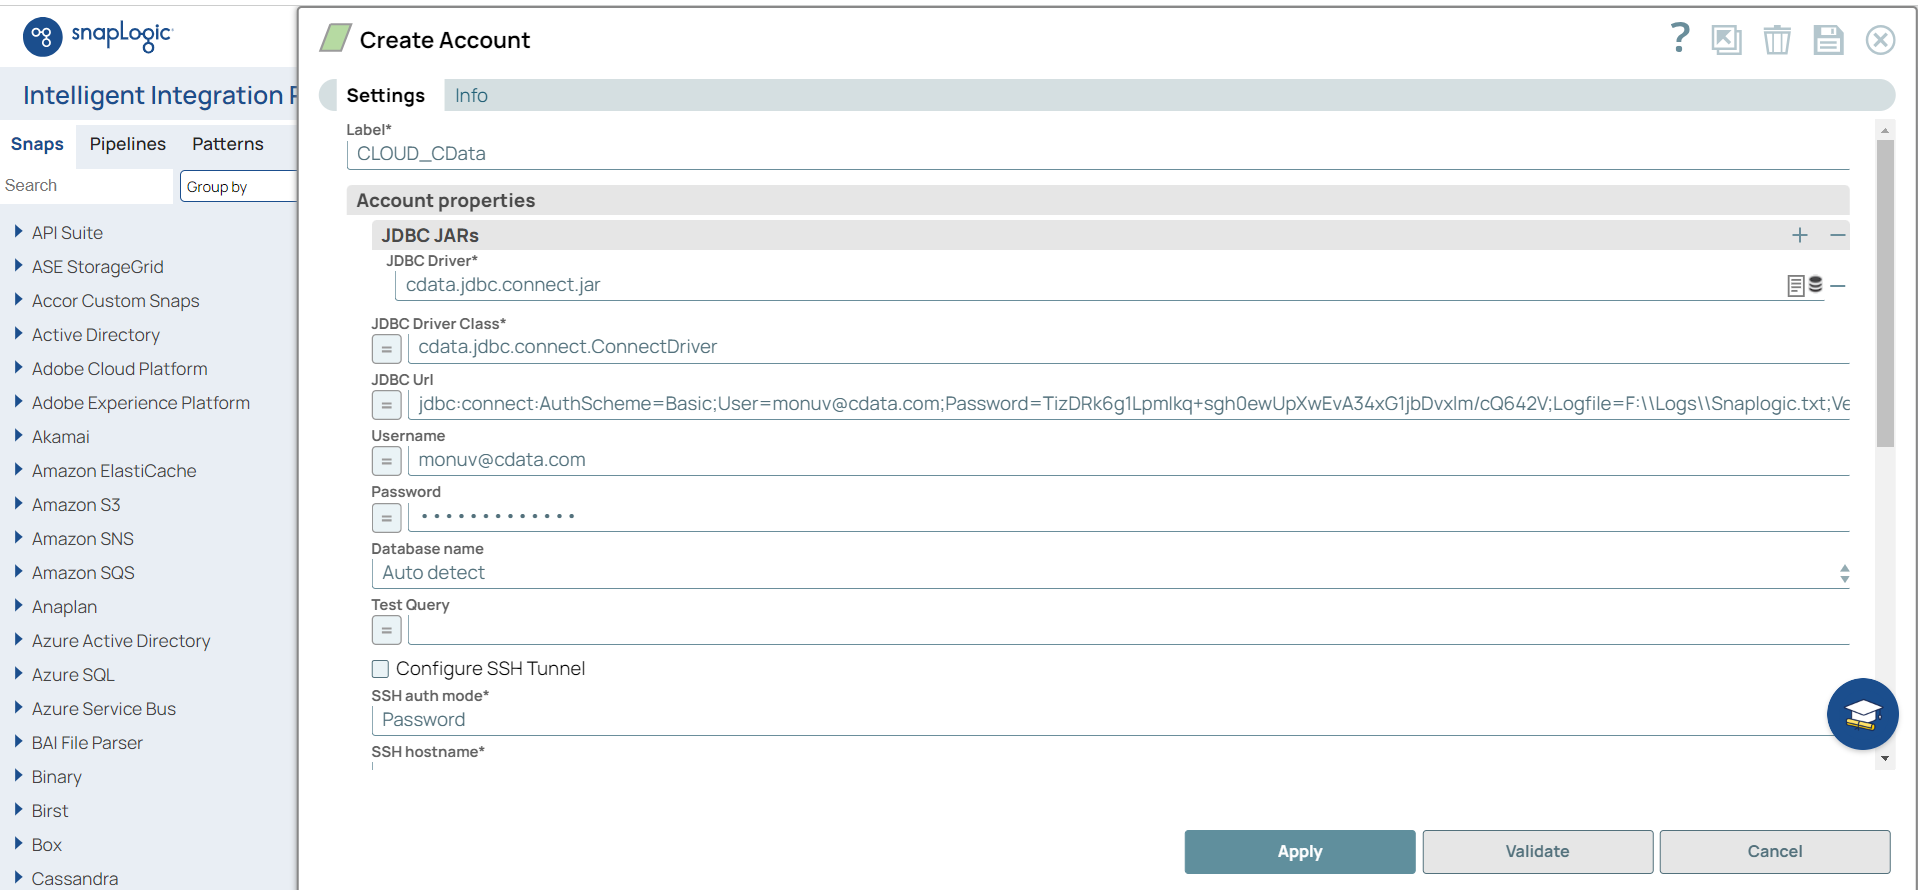
Enter the JDBC connection properties.
-
JDBC driver—add the Connect AI JAR file
-
JDBC driver Class—enter cdata.jdbc.connect.ConnectDriver
-
JDBC Url—enter a JDBC connection string for the JDBC driver. The connection string is formatted like
jdbc:connect:AuthScheme=[AuthScheme];User=[User];Password=[PAT];. -
Username—Connect AI のユーザー名を入力します。ユーザー名は、Connect AI の画面の右上に表示されています。例:test@cdata.co.jp
-
Password—Settings ページで生成したPAT を入力します。
-
-
Click Validate. If the connection succeeds, the snap is ready to use.
-
Click Apply.